
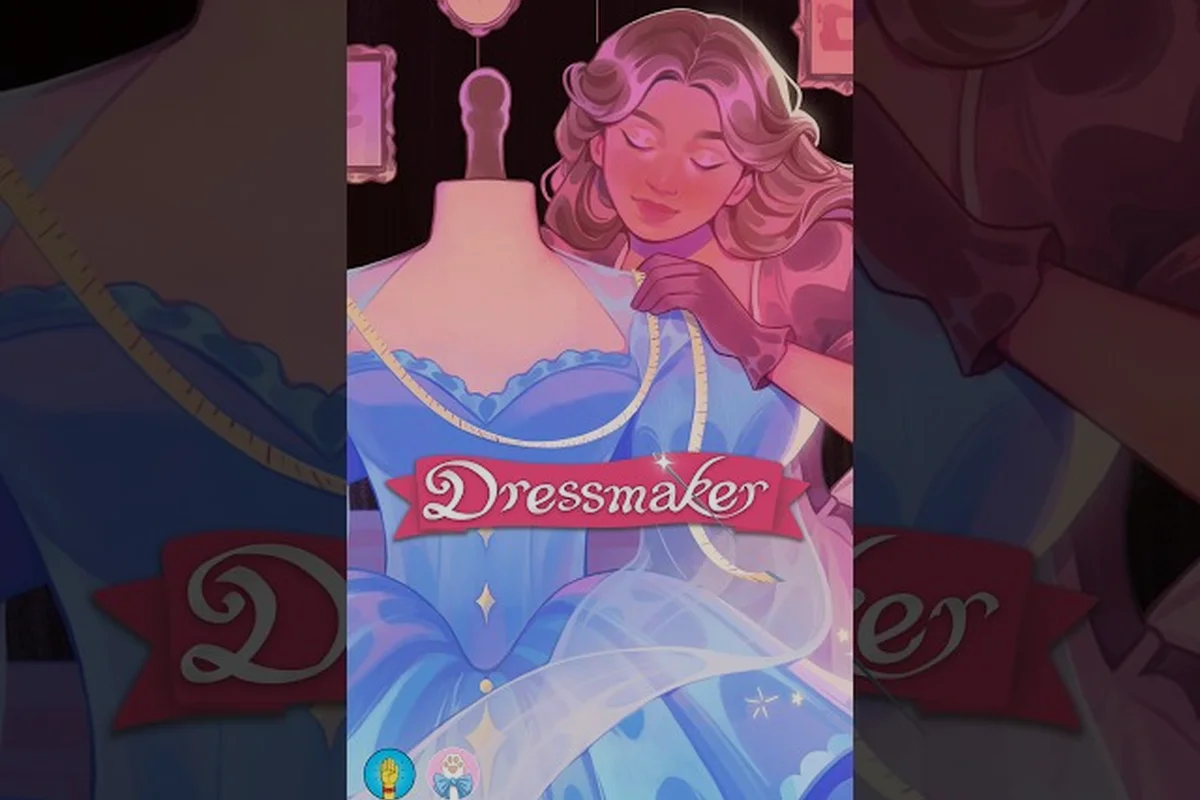
Necklines decide whether a finished dress looks like a quick commission or a boutique showpiece, and in Dressmaker they also control how forgiving the rest of your sewing run will be. Choosing among the available Dressmaker neckline patterns early in the sketchbook phase saves fabric, prevents bad mannequin fits, and unlocks higher-paying customer requests tied to evening and royal gowns. This guide walks through every shape, its difficulty, and how each one behaves during the pattern preview stage.
Neckline Shapes Available in Dressmaker
The sketchbook offers a range of neckline silhouettes, each with its own paper-pattern cutout. Players start with a handful of basic shapes and unlock more elaborate ones as the shop levels up. The Dressmaker on Steam store page confirms that the design phase happens first, before any fabric is cut, which means a neckline decision is essentially permanent until you start a new sketch.
The table below catalogs every neckline pattern available in the base game, ranked roughly by the order in which most players encounter them — beginning with the default crew, scoop, and square shapes that ship with the Dressmaker sketchbook, then progressing through V-neck and sweetheart at shop tier 2, and finally advancing to halter, off-shoulder, and high-collar patterns that require tier 3 upgrades or royal commission progression to unlock.
| Neckline | Shape | Difficulty | Best Fabric Pairing | Unlock Hint |
|---|---|---|---|---|
| Crew | Round, sits at collarbone | Beginner | Cotton, Linen | Default |
| Scoop | Deep U-curve below collarbone | Beginner | Cotton, Linen | Default |
| Square | Straight horizontal cut | Beginner | Cotton, Linen | Default |
| V-Neck | Sharp diagonal point | Intermediate | Silk, Wool | Shop tier 2 |
| Sweetheart | Two soft curves meeting at center | Intermediate | Silk, Velvet | Shop tier 2 |
| Halter | High neck with open back | Advanced | Silk, Velvet | Shop tier 3 |
| Off-Shoulder | Horizontal line below shoulders | Advanced | Velvet, Silk | Shop tier 3 |
| High Collar | Closed neck rising to jaw | Advanced | Wool, Velvet | Royal commissions |
Community testing on the Steam discussion boards suggests that high-collar and off-shoulder variations are the toughest to place because the pattern piece leaves very little seam allowance, which means misaligned grain lines show up immediately. If you are still learning how to align paper patterns on the cutting mat, the Dressmaker pattern guide covers grain line alignment in detail.
Reading the Pattern Preview Window
The pattern preview is a 2D overlay that shows your paper pattern piece on top of the mannequin silhouette. When you change necklines, the top edge of the bodice pattern shifts its curve, and the preview updates instantly. According to player reports, the preview does not show how the neckline will sit once sewn — it only confirms whether the paper cutout fits the mannequin's neck circumference.
Use the preview for three quick alignment checks before you ever cut fabric, because each one catches a distinct twist that a flat neckline curve can hide — for example, switching from a crew neck to a scoop neck drops the front edge about 2 cm lower and can pull the center-front mark off the plumb line even when the neck ring still clears, which is exactly the kind of fit issue that tanks the satisfaction score on a bride gown order.
-
The neckline curve clears the mannequin's neck ring without overlap.
-
The shoulder seams line up with the mannequin's shoulder line, not floating above or below.
-
The center-front mark sits exactly on the mannequin's vertical plumb line.
A single failed alignment check — say, a center-front mark drifting 3 mm off the mannequin's plumb line after switching from a sweetheart to a V-neck — is enough to make the sewn bodice rotate around the shoulder seam, and on high-difficulty dressmaker pattern orders such as bridal or couture pieces that twist directly subtracts from the customer's satisfaction score, so all three checks must pass together before any fabric is cut.
Pattern Difficulty by Neckline Type
Dressmaker pattern difficulty scales with the number of curved edges, the precision of the center-front point, and how much the neckline interacts with sleeve attachments. Beginner necklines have one or zero curves and a generous seam allowance. Advanced necklines combine multiple curves, sharp points, or a structural element like a stand collar that must be reinforced.
Beginner Necklines: Crew, Scoop, Square
These three are the safest choices for a first-time shop run. Crew and scoop are both rounded but scoop dips lower, which means more skin exposure and slightly more pressure on the curve to lie flat. Square is the easiest of all because the horizontal cut has no curve, only a straight line, and a straight line is the most forgiving edge to cut by hand or machine.
Players report that square necklines pair best with cotton and linen because the heavier fabrics hold the horizontal line without curling. For more on fabric-grain behavior, the Dressmaker grain vs bias guide explains how the cut direction changes how a neckline drapes.
Intermediate Necklines: V-Neck, Sweetheart
V-neck and sweetheart necklines introduce a center-front point or dual curves that must meet precisely. A V-neck with even a 2-millimeter offset at the tip looks visibly crooked on the mannequin. Sweetheart is more forgiving because the two curves hide small asymmetries under the bust line, but the center dip still has to land on the mannequin's plumb line.
| Intermediate Neckline | Risk Factor | Common Mistake | Fix |
|---|---|---|---|
| V-Neck | High | Crooked center point | Use the plumb-line tool in the pattern preview |
| Sweetheart | Medium | Asymmetric curves | Mirror the pattern after first cut |
| Boat (mid-tier) | Low | Fabric curl at edges | Use a heavier fabric like wool |
Advanced Necklines: Halter, Off-Shoulder, High Collar
Dressmaker advanced patterns include halter, off-shoulder, and high collar, and these are the necklines that separate a casual shop from a royal-gown atelier. Halter requires a neck strap that must be measured and cut separately, and the strap length is not shown in the basic preview. Off-shoulder relies on a precisely placed horizontal cut that must clear both shoulder peaks evenly. High collar demands a stand piece that must be reinforced with interfacing, which the game represents as a second pattern layer.
Players on the Steam community guides hub note that these three necklines appear in most royal commission briefs, and the rewards for completing them are noticeably higher than everyday commissions. A Dressmaker on Steam commission that requests an off-shoulder silhouette will pay roughly double the base rate of a crew-neck commission, based on player-reported earnings.
How the Mannequin Fits Different Necklines
Dressmaker mannequin fitting is the moment of truth for any neckline, because the mannequin simulates how a real customer would wear the dress. The mannequin has fixed neck, shoulder, and bust measurements, and changing the neckline pattern changes how much of those measurements remain covered.
Mannequin Body Reference
The mannequin in the fitting room has a fixed body that does not change between commissions, so its neck ring, shoulder line, bust apex, and plumb line become your only reliable reference for predicting how a dressmaker neckline pattern will behave. Because the silhouette, chest volume, and torso length are locked, you can test a V-neck point against the plumb line or check a sweetheart dip against the bust apex before committing fabric. Memorizing those four reference zones turns pattern preview judgment into a repeatable measurement rather than guesswork, which matters most when working with advanced patterns whose fitting tolerance is tight.
| Mannequin Zone | What It Controls | Neckline Interaction |
|---|---|---|
| Neck ring | Top circumference | Crew, scoop, high collar sit on or above |
| Shoulder line | Edge where bodice meets arm | V-neck, halter, off-shoulder anchor here |
| Bust apex | Lowest point of bodice front | Sweetheart curves land at this line |
| Plumb line | Center-front vertical axis | V-neck point and sweetheart dip must align |
If the neckline pattern is too tight, the mannequin's neck ring will glow red during the preview, and the game flags a fitting error before you cut any fabric. If the neckline is too loose or too low, the preview glows yellow, which is a warning that the dress will not sit correctly on a real customer.
Preview-to-Mannequin Translation Tips
The pattern preview and the mannequin fitting are two different views of the same dress. The preview shows the paper cutout on a flat mannequin, while the fitting room shows the sewn panels on a slightly rounded mannequin. The two views do not always agree, especially for advanced necklines.
-
If the preview shows green and the fitting shows red, the issue is almost always fabric stretch, not pattern shape.
-
If the preview shows green and the fitting shows yellow, the fabric is too stiff for the neckline curve.
-
If both views show yellow or red, the pattern is misaligned and must be redrawn.
According to community testing, silk is the most predictable fabric for the fitting room because it behaves consistently across all five in-game fabric types. Cotton is the most variable because it stretches more on bias cuts, which changes how a neckline sits on the mannequin.
Fabric and Decoration Pairings for Each Neckline
Dressmaker neckline patterns become showpieces when the right fabric and decoration meet the right silhouette, and the layering system lets you stack bows, lace trims, appliqué, and buttons freely — but a crew neckline in cotton with a single button row reads as crisp minimalist, while the same neckline loaded with heavy appliqué can clip through the collar curve and break the mannequin preview. Pairing is geometry first, then texture: the sweetheart bust curve, for example, only accepts centered bows because trim along the curve collides with the sleeve seam, a constraint the preview window surfaces before you commit to the pattern difficulty tier.
| Neckline | Best Fabric | Best Decoration | Avoid |
|---|---|---|---|
| Crew | Cotton | Button row | Heavy appliqué at neck |
| Scoop | Linen | Lace trim | Sharp V-shaped embroidery |
| Square | Cotton | Ribbon bow at center | Beadwork on the edge |
| V-Neck | Silk | Pendant-style appliqué | Buttons along the V |
| Sweetheart | Velvet | Centered bow | Trim along the bust curve |
| Halter | Silk | Back bow | Heavy collar appliqué |
| Off-Shoulder | Velvet | Sleeve ruffles | Neckline trim (none visible) |
| High Collar | Wool | Brooch at throat | Anything that adds bulk |
Decoration choices are covered in more depth in the Dressmaker best decoration combos article, which maps trim types to neckline shapes based on community-tested results. That cross-reference matters here because the table above only lists the single "best" decoration per neckline, while the combo guide actually tests layered stacks — for example, a Scoop neckline in linen can hold both a lace trim AND a small ribbon bow simultaneously without exceeding the mannequin preview's clipping threshold, but a V-Neck in silk that pairs a pendant appliqué with even one extra button along the V seam immediately triggers the pattern difficulty tier to jump and breaks the rendered silhouette in the preview window.
Sleeve Interactions with Necklines
Dressmaker sleeve types change how a neckline reads on the finished dress. A sleeveless dress with a high collar reads as formal, while the same high collar with puffed sleeves reads as vintage. The bodice pattern, where the neckline lives, also has to align with the sleeve attachment point, and the seam between the two pattern pieces is the most common place for new players to lose alignment.
| Sleeve Type | Reads Best With | Avoid With |
|---|---|---|
| Sleeveless | Halter, V-neck, sweetheart | High collar |
| Cap sleeve | Crew, scoop, square | Off-shoulder |
| Short sleeve | Crew, square, V-neck | Sweetheart (bunches at curve) |
| Long sleeve | High collar, crew | Halter (no shoulder anchor) |
| Puff sleeve | Square, scoop | V-neck, off-shoulder |
If you are fitting a dress where the neckline and sleeves do not agree, the issue is almost always that the pattern's shoulder seam is sitting too far in or out. The Dressmaker fitting issues article walks through the rotation and resizing fixes for these exact problems.
Common Mistakes When Picking a Neckline
Even experienced dressmaker players repeat the same few neckline errors, usually because the pattern preview hides a small detail — such as dart placement, facing width, or grain direction — that only shows up at the mannequin fitting stage. Community-mined Steam forum reports cluster these slip-ups into a predictable short list, so the section below walks through the most common ones tied directly to specific neckline patterns rather than generic sewing advice.
-
Picking a neckline before checking the customer's brief. Some customers request specific shapes, and a mismatched neckline drops the satisfaction score even if the fabric and color are perfect.
-
Ignoring the fabric weight. A heavy wool V-neck sags at the point because the fabric cannot hold a sharp diagonal. Switch to silk for sharp points.
-
Forgetting the back of the dress. Halter and off-shoulder necklines have dramatic backs, and the game evaluates the back as part of the fit score.
-
Reusing the same neckline for every commission. Variety drives customer happiness and shop reputation, so rotate among at least three shapes per play session.
-
Skipping the mannequin fitting step. The fitting step is free and instant, and it catches errors that the pattern preview cannot.
A Quick Pre-Cut Checklist
Before you feed any panels through the sewing machine, run through this list in the exact order the Free Lives press kit describes for the making loop, condensed to the neckline-relevant steps. Think of it as a gating sequence for dressmaker neckline patterns: each prerequisite — pattern preview green status, matching fabric weight, mannequin fitting clearance, decoration placement — locks in difficulty before the first stitch, and skipping one tends to surface as red warnings only after the side seams are already closed.
-
Confirm the neckline matches the customer brief.
-
Check the pattern preview for green status on neck, shoulder, and center-front.
-
Confirm the fabric weight matches the neckline's curve demands.
-
Run the mannequin fitting and look for red or yellow warnings.
-
Place any neckline decoration before sewing the side seams.
Frequently Asked Questions
What is the easiest Dressmaker neckline pattern for beginners?
The Square neckline is the easiest because it has a single straight cut with no curves, which means almost no risk of misalignment on the cutting mat. Pair it with cotton, and the straight edge will hold its shape through the sewing machine without curling or stretching.
Which neckline pays the most in commissions?
The High Collar and Off-Shoulder necklines appear most often in royal-gown commissions, and royal briefs pay roughly double the base rate. They also require wool or velvet, which raises the material cost, so the net profit is closer to 1.5x rather than 2x.
How do I preview a neckline before cutting fabric?
Open the pattern preview window from the sketchbook before sending the paper pattern to the cutting mat. The preview shows a green ring around the mannequin's neck if the neckline clears the body, yellow if the fit is borderline, and red if the pattern overlaps the neck ring or shoulder line.
Can I change a neckline after cutting the fabric?
No, the game locks the neckline into the paper pattern once the panels are cut. To change a neckline mid-project, you must discard the cut panels, return to the sketchbook, and redraw the pattern. This wastes the fabric, so always confirm the neckline in the preview first.
Do all five fabrics work with every neckline?
Technically yes, but the result quality varies. Cotton and linen behave well on beginner necklines, silk and wool handle intermediate shapes cleanly, and velvet is the safest pick for advanced halter and off-shoulder cuts. Mixing the wrong fabric and neckline is the most common cause of a yellow or red fitting warning.