
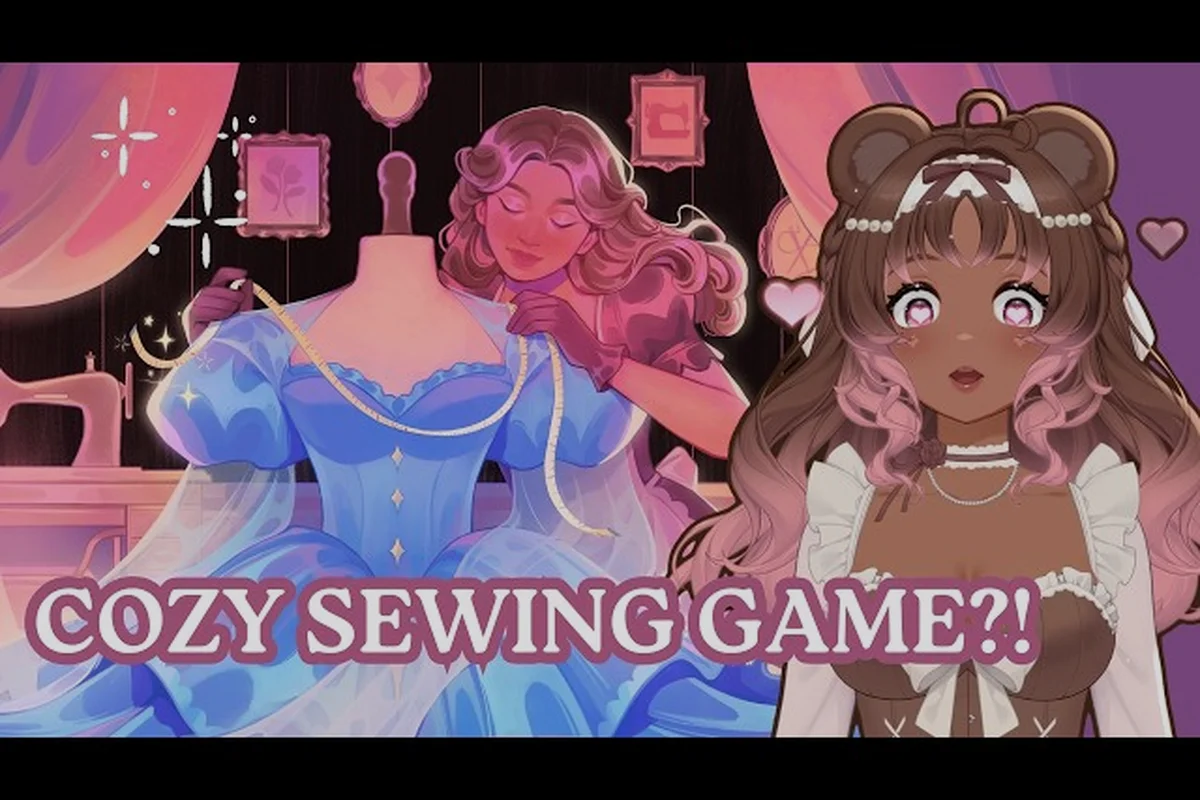
Reading the grain correctly is the single most underrated skill in Dressmaker, and it decides whether a finished commission drapes like a magazine cover or puckers in front of the customer. Every fabric in the game — cotton, linen, wool, silk, and velvet — carries visible grain lines that the cutting table respects, even when you do not. This dressmaker grain vs bias guide walks you through the three grain directions, how to spot them on the swatch in your sketchbook, and how to rotate every pattern piece before the scissors drop so your panel passes through the sewing machine without warping. If you'd like a refresher on taking accurate body measurements before you start pinning and rotating, our Dressmaker Measuring Guide walks you through each tape placement so your grain-perfect layout actually fits the wearer.
Reading the Three Grain Directions
Every bolt of fabric in your workroom has a warp (lengthwise threads), a weft (crosswise threads), and a bias line that runs at a true 45° between them. The game exposes all three on the cutting grid, and the way each piece sits relative to them changes how the panel behaves under the needle, on the mannequin, and on the customer. Before you even open a pattern, you need to learn the language the cutting table speaks.
| Grain Direction | Angle on Grid | Stretch Behavior | Best For | Worst For |
|---|---|---|---|---|
| Straight Grain (warp) | 0° vertical, parallel to selvedge | Minimal stretch, holds shape | Bodices, collars, structured panels | Flowy hems, drape details |
| Cross Grain (weft) | 90° horizontal, perpendicular to selvedge | Slight give, stable width | Sleeves, yokes, waistbands | Bias-cut evening gowns |
| True Bias | 45° diagonal across warp and weft | Maximum stretch and drape | Cowls, flared skirts, bias-cut hems | Structured bodices, sharp pleats |
Straight grain is the safe default. Pieces aligned to the warp run cleanly through the sewing machine because the threads do not fight the presser foot, and they retain the shape you drafted in the sketchbook. Cross grain adds a touch of give, which is useful when you want a sleeve to bend comfortably without a dart. True bias is where the magic happens for evening wear, but it punishes sloppy alignment — rotate a bias piece even five degrees off and the panel pulls visibly when you stitch the seam.
The reason this matters in the in-game economy is that customers score the finished dress against the Draping Quality stat, and a bias-aligned piece on a commission that asked for a structured look will lose points even if the color and applique are perfect. The official Steam page confirms that grain-aligned versus bias cuts visibly change the finished garment, which means the system is not cosmetic — your score, your tip, and your reputation all react to the choice.
How to Spot the Grain on the Cutting Grid
When you place a fabric bolt on the cutting table, the grid shows a faint vertical rule (the warp line) and a faint horizontal rule (the weft line). The selvedge edge — the tightly woven finished border of the bolt — is your anchor. Any pattern piece has a small grain-line arrow printed on it, and your job is to rotate the piece so that arrow lines up with the warp rule on the grid. The game does not snap pieces to grain automatically, so a misaligned cut will pass through to the sewing stage and cost you later.
Aligning Patterns with the Dressmaker Pattern Guide
Pattern alignment is the bridge between reading grain and cutting fabric, and the dressmaker pattern guide is your reference for the rules of placement. Every paper pattern in your inventory carries notches, a grain-line arrow, and a fold-line marker, and each of these symbols tells you something specific about how the piece wants to lie on the bolt.
| Pattern Marker | What It Means | Action on Cutting Grid |
|---|---|---|
| Grain-line arrow | Direction the piece should run along the warp | Rotate the piece so the arrow points parallel to the vertical grid rule |
| Notches | Match points for adjacent panels | Cut notches outward (into the seam allowance) so they survive sewing |
| Fold line | Edge that should sit on the folded fabric | Place the fold line exactly on the grid fold, never past it |
| Bias indicator | Diagonal stripe printed on the pattern | Rotate the piece 45° so the printed line aligns with the bias gridline |
| Double notches | Front vs back panel distinction | Cut one notch on back, two on front, never confuse them |
The most common beginner mistake is treating the grain-line arrow as a suggestion. If the arrow points up, the piece must point up — even if rotating it would let you tuck another piece underneath and save fabric. A grain-line violation on a single piece is enough to drag the whole garment's score down, and customers notice before you do. Save layout space by nesting smaller pieces (pocket facings, waistbands, collar stands) around the larger bodice and skirt pieces, but never rotate a piece off its printed arrow to gain half an inch of fabric.
Cross-link integration lives in the placement phase, not the cutting phase. Once your layout is locked, the next step is to confirm the dressmaker sketchbook guide workflow you used to design the dress actually matches the fabric you are about to cut — a silk sketch with bias trims that ends up on a wool bolt will fail the type check at the sewing machine even if the cut is technically clean.
Cutting Cleanly on the Dressmaker Cutting Table
Cutting is the only step that physically removes material, and once the scissors drop, there is no undo. The dressmaker how to cut fabric workflow is built around three priorities: respect the grain arrow, leave seam allowance, and keep the cut edges square. A clean cut feeds the sewing machine without jamming, while a ragged or off-grain cut snags the presser foot and shows up as a visible defect on the mannequin.
| Cut Quality Issue | What Causes It | Visible Result | Score Penalty |
|---|---|---|---|
| Off-grain cut | Piece rotated 5°+ from grain arrow | Panel twists when lifted, seam puckers on machine | High — drops Draping Quality |
| Torn edge | Scissors dragged instead of closed in one motion | Frayed edge, thread pulls visible on mannequin | Medium — drops Finish Quality |
| Missing notch | Notch not cut into seam allowance | Panels cannot be matched at sewing stage | Medium — Assembly Score hit |
| Wrong fabric | Pattern designed for silk cut from wool | Hand drape wrong, color may not match swatch | High — fails Commission check |
| Wasteful layout | Pieces placed without nesting | Bolt runs out mid-cut, cannot finish commission | Critical — commission fails outright |
The cutting animation in the game is short, but the game still tracks edge straightness, notch accuracy, and grain alignment. The single highest-leverage habit you can build is to double-check the grain arrow one last time before you click. A second of hesitation at the table saves a full restart at the sewing machine.
Saving Fabric Without Sacrificing Grain
Saving fabric matters because every commission pays for the bolt up front, and waste cuts into your margin. The trick is to nest pieces — rotate smaller pieces (collar, cuffs, facings) 180° around the larger pieces so their grain arrows still point up but their bodies tuck into the empty corners. As long as the grain arrow on each piece is parallel to the warp gridline, the cut is valid. Never mirror a piece across the vertical axis to save space unless the pattern itself is marked "cut on fold" or "cut mirrored" — mirrored grain looks correct in the sketchbook but produces a left-right twist on the mannequin.
Sewing the Panels on the Dressmaker Sewing Machine
The dressmaker sewing machine guide workflow is where grain discipline pays off the most. The machine runs a straight stitch along the seam line, and the panel's grain direction determines how the seam sits once stitched. A straight-grain panel feeds flat, the presser foot holds it even, and the stitch line stays parallel to the edge. A bias panel feeds with a slight wobble because the bias stretches under the foot, and you will see the seam drift if your hands are not guiding steadily.
| Fabric Type | Recommended Grain | Sewing Speed | Foot Pressure | Result on Mannequin |
|---|---|---|---|---|
| Cotton | Straight grain, warp up | Medium | Standard | Crisp, structured silhouette |
| Linen | Straight grain, warp up | Slow | Slightly increased | Natural drape, holds pleats |
| Wool | Straight grain, warp up | Slow | High | Warm, structured, slight body |
| Silk | True bias for drape, straight for structure | Very slow | Reduced | Flowing evening wear, no snags |
| Velvet | Cross grain for pile direction | Very slow | Standard with nap awareness | Rich color, soft hand |
Cotton and linen reward straight grain because they are stable wovens that hold the shape you designed in the sketchbook. Wool behaves the same way but tolerates a touch of cross-grain flexibility for sleeves that need to bend. Silk is the wildcard — a structured silk bodice wants straight grain, but a flowing silk evening skirt is the classic bias-cut use case, and the game rewards it with a high Draping Quality score if you matched the sketchbook design to a bias cut. Velvet always wants the pile to run downward on the finished garment, which means the cross-grain direction matters more than the warp — cut velvet pieces so the pile points down, and the color will look richer on the mannequin.
If the seam puckers after the first stitch, the most common cause is that the piece drifted off-grain during cutting. Stop, undo the stitch, realign the panel against the presser foot with the grain arrow visible, and re-sew. Players report that pucker recovery rarely works — a re-stitched seam almost always leaves a faint visible defect on the finished dress.
Previewing the Fit with the Dressmaker Mannequin
The dressmaker mannequin preview guide step is your last chance to catch a grain error before the commission scores. The mannequin is a static dress form in your workroom, and the preview interface lets you drape the sewn panels on it to check fit, drape, and grain behavior. This is where a straight-grain cut looks crisp and a bias cut shows its signature flow, and where a misaligned piece reveals itself as a twist or a pull.
| Preview Check | What to Look For | Pass Condition | Fail Recovery |
|---|---|---|---|
| Draping Quality | Does the fabric fall naturally? | Smooth fall, no twist at hem | Re-cut on correct grain |
| Symmetry | Does the left side mirror the right? | Side seams match, hem level | Re-align pattern pieces on grid |
| Seam Visibility | Are stitch lines smooth? | No puckers, no thread pulls | Re-sew with grain respected |
| Color Match | Does the bolt match the sketchbook? | Identical swatch color | Switch to correct fabric bolt |
| Notch Alignment | Do adjacent panels match at seams? | Notches interlock cleanly | Trim and re-pin before final stitch |
The preview is also where you confirm that the dressmaker sketchbook guide design choices — the silhouette, the trim placement, the applique positioning — all survived the cut and sew stages. A common pitfall is to skip the preview and ship the commission directly. Players who do this often miss a 5° grain rotation that would have cost them a tip in the score breakdown. Always preview, always check, and only then click "Deliver."
Cross-Fabric Strategy and Material Selection
Choosing the right fabric is upstream of every grain decision, and the dressmaker best fabric reference is the fastest way to match commission briefs to available bolts. Each of the five named fabrics — cotton, linen, wool, silk, and velvet — carries different price points, drape behaviors, and grain preferences. The unlock order in the early game runs cotton → linen → wool → silk → velvet, and the more expensive fabrics reward you with higher commission payouts if you cut and sew them on the correct grain.
| Fabric | Price Tier | Preferred Grain | Best Commission Type | Worst Mistake |
|---|---|---|---|---|
| Cotton | Low | Straight | Day dresses, summer commissions | Using bias unnecessarily |
| Linen | Low-Medium | Straight | Casual summer, picnic dresses | Cutting against nap on raised textures |
| Wool | Medium | Straight | Winter coats, formal suiting | Cross-grain for tight-fitted bodice |
| Silk | High | Bias for drape, straight for structure | Evening gowns, wedding commissions | Wrong grain for commission brief |
| Velvet | Premium | Cross grain (pile down) | Holiday wear, royal commissions | Pile running upward, color looks flat |
Silk is where the dressmaker bias cut fabric guidance pays off the most, because the high price of the bolt means a ruined cut is an expensive mistake. A bias-cut silk evening gown is the highest-scoring commission type in the game for experienced players, but it is also the least forgiving — a 3° rotation on a single skirt panel can drop the Draping Quality by a full tier. The dressmaker how to arrange pattern pieces workflow for silk is to lay out the bodice pieces on straight grain first, then nest the skirt panels at 45° to the warp with their grain arrows pointing along the bias gridline. Confirm the layout twice before cutting.
Wool and velvet sit on the opposite end of the spectrum — they reward patience and straight grain more than any flair. A wool winter coat cut on the bias will stretch out of shape the first time the customer wears it in the rain, and velvet with the pile running upward looks dull and feels rough on the mannequin. Stick to the recommended grain for these two, and your commission scores will stay consistent.
Frequently Asked Questions
What is the difference between grain and bias in Dressmaker?
Grain refers to the warp and weft threads that run vertically and horizontally through the fabric, while bias is the 45° diagonal line that crosses both. Cutting on grain gives you a stable, structured panel, while cutting on the bias gives you a stretchy, draping panel that hugs curves. In Dressmaker, the cutting grid exposes all three directions, and your pattern pieces carry a grain-line arrow that must align with the warp unless the pattern is explicitly marked for bias.
How do I know which grain direction a commission needs?
Open the sketchbook design and check the silhouette tags. Structured tags like "tailored," "formal," and "winter coat" reward straight grain, while flowy tags like "evening gown," "summer dress," and "bias skirt" reward bias-aligned cuts. The commission brief also lists the fabric type — silk almost always pairs with bias for drape, and wool almost always pairs with straight grain for warmth. Match the tag and the fabric, then cut accordingly.
Can I fix a grain mistake after sewing?
Not fully. If the seam puckers from an off-grain cut, re-stitching usually leaves a visible defect, and the Draping Quality score still takes the hit on delivery. The only true fix is to cut a new panel on the correct grain and re-sew that section. Players report that the most efficient recovery is to scrap the entire garment and start over rather than try to patch a single misaligned piece, because one twisted piece throws off every adjacent panel.
Does the fabric color matter when choosing grain?
Color is independent of grain direction, but the way light hits the fabric changes with grain. Velvet's pile direction changes how rich the color looks, silk's bias cut catches light differently than a straight cut, and linen has a subtle slub texture that looks more pronounced on the cross grain. Pick the grain that flatters the commission brief first, then confirm the color swatch matches the sketchbook design before cutting.
What is the most common beginner mistake when cutting fabric?
Rotating a pattern piece to save fabric, even when the grain-line arrow no longer aligns with the warp. Beginners often see an empty corner of the bolt and rotate a bodice piece 10° to fit a sleeve underneath, and the resulting panel twists visibly on the mannequin. The fix is to nest pieces in their natural orientation — rotate smaller pieces 180° if you must, but never rotate any piece off its printed grain arrow just to save an inch of fabric.